
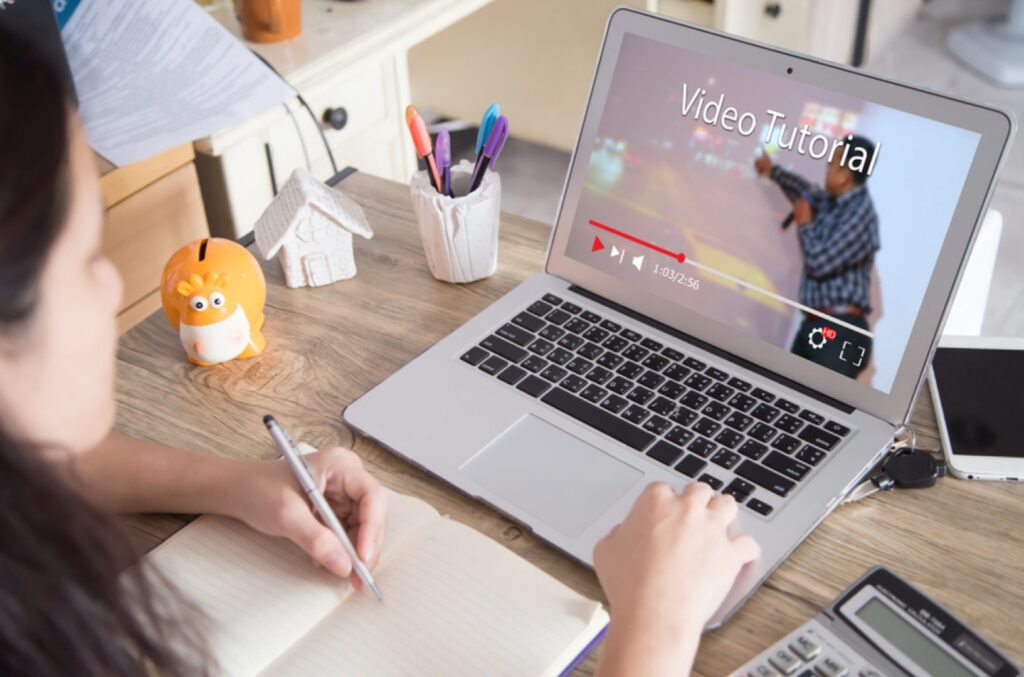
Have you ever watched a tutorial video that left you more confused than when you started?
You’re not alone. With thousands of new “how-to” videos published every day, standing out—and being useful—is harder than ever. Whether you’re helping clients navigate a new tool, training your team remotely, or guiding customers through onboarding, making a tutorial video that educates and holds attention is both an art and a science.
At i-Q&A, we believe that a good tutorial doesn’t just explain—it connects. Here’s a complete, no-fluff breakdown of how to make a video guide that people will actually want to watch—and more importantly, learn from.
What Makes a Tutorial Video Worth Watching?
A tutorial video is more than just a screen recording with a voiceover. It’s a focused, purpose-built piece of content that walks someone through a task, concept or process—one clear step at a time. From software walkthroughs to recipe demonstrations, this format is one of the most widely used for online learning.
But to be effective, it needs structure, clarity, and human insight.
Google found that viewers are three times more likely to watch a video tutorial than read a manual. That’s great news—but only if your video actually meets their expectations.
Step 1: Start with the Audience, Not the Software
Before writing a script or even deciding what to record, ask yourself three essential questions:
- Who is the viewer?
- What specific problem are they trying to solve?
- What will they be able to do after watching this?
Trying to speak to “everyone” results in generic content that rarely helps anyone. The most effective tutorial videos are focused. One topic. One problem. One solution. If your audience feels seen and understood, they’re far more likely to stay engaged.
Step 2: Set a Goal That Can Be Measured
Your tutorial should have one clear, actionable objective. Think along the lines of:
“After this video, the viewer will be able to set up automated email replies in [Platform].”
When you have that goal in mind, everything else—the script, the visuals, the pacing—becomes easier to align. It also gives you something to measure against later. Did the viewer succeed in doing what you showed them?
Step 3: Script It Out (Don’t Wing It)
Improvised tutorials tend to ramble. Even if you’re confident, scripting is essential for clarity.
Use a two-column format: one side for visuals (what’s on screen), the other for voiceover or narration. Your opening line should confirm the video’s purpose immediately. Avoid drawn-out introductions. Something like:
“In this video, you’ll learn how to create a new user profile in [App].”
Keep language natural, direct, and human. Read it aloud. If it sounds robotic, it’ll feel robotic too.
Step 4: Record the Narration First
Especially if your video features screen recordings, record your voiceover before the visuals.
Why? It gives you a consistent guide to sync your video against later and helps tighten your pacing. Tools like TechSmith Audiate let you transcribe and edit audio almost like a text document—removing filler words, pauses or errors quickly.
Make sure you speak clearly, with a warm, conversational tone. It’s not a lecture—it’s a conversation.
Step 5: Prep and Record Your Screen
Before hitting record:
- Close background apps
- Turn off notifications
- Hide desktop clutter
- Use a clean, neutral wallpaper
Rehearse the steps a few times. Then, use screen recording tools like Camtasia to capture only the part of the screen that matters. Don’t be afraid to pause and redo sections. It’s easier to fix it now than edit a messy recording later.
Step 6: Edit with Intention
Editing isn’t just about cutting out mistakes—it’s where your video really comes to life. Use this stage to:
- Remove filler or missteps
- Sync visuals with narration
- Zoom in on key actions
- Highlight buttons or inputs with annotations
- Add captions for accessibility
If you’re using Camtasia, you’ll have access to pre-built templates that can make your final product look far more professional—complete with transitions, text overlays and even background music (if you want it).
Step 7: Share It Where It Helps Most
Once your video is polished, it’s time to publish. Consider:
- YouTube – Add clear titles, thumbnails and tags to help people find it via search.
- Your website – Embed in FAQs, support articles or product pages.
- Email – Include short videos in onboarding flows or product updates.
- Social media – Tease it with short, attention-grabbing clips formatted for vertical screens.
Always keep a copy of your project file in case you need to update the tutorial later.
Choosing the Right Equipment
You don’t need a studio setup to make great videos. But you do need to get the basics right.
Microphone
Audio matters more than video. A low-quality mic can ruin an otherwise helpful tutorial. You can find solid USB microphones in the £50–£100 range. Keep it close to your mouth but angled to avoid popping sounds.
Webcam
If you’re appearing on camera, use a webcam at eye level, with soft lighting and a clutter-free background.
Lighting
Natural light works well, but if you’re filming indoors, consider a ring light or softbox. Always face your light source to avoid harsh shadows.
9 Ways to Make Your Tutorials Even Better
- Use a clear, searchable title
Make it obvious what your video covers. Be specific. - Blend video and narration
Don’t rely on visuals alone—use your voice to explain why as well as how. - Add a table of contents
For longer videos, timestamped sections help people jump to what they need. - Highlight key steps
Use zooms and callouts to emphasise important moments. - Use music sparingly
Background music can help pacing, but never let it drown out your voice. - Include captions
They help with accessibility and retain viewers who are watching without sound. - Number your steps
This makes the process easier to follow—especially for complex tasks. - Recap before closing
Summarise what the viewer has learned or accomplished. - Upgrade your audio if possible
Better sound almost always results in better engagement.
Borrow Inspiration from Great Video Ads
Even though ads and tutorials serve different purposes, the most effective ones share a few strategies:
- Hook the viewer early – The first 5 seconds matter. Show them what’s in it for them immediately.
- Frame it as a story – Instead of just listing steps, show how the process solves a real problem.
- Be human – A little humour, empathy or warmth goes a long way.
- Trim the fluff – Get to the point and stay there.
Final Thought: Focus on the Person, Not Just the Process
A good tutorial isn’t just about the tool or feature—it’s about the person on the other side of the screen trying to figure something out.
Stay focused. Solve one problem per video. Speak clearly. And never underestimate the value of good audio.
Once you’ve made one video, the next gets easier. And with practice, you’ll not only create helpful content—you’ll start building trust with every viewer who clicks “play.”