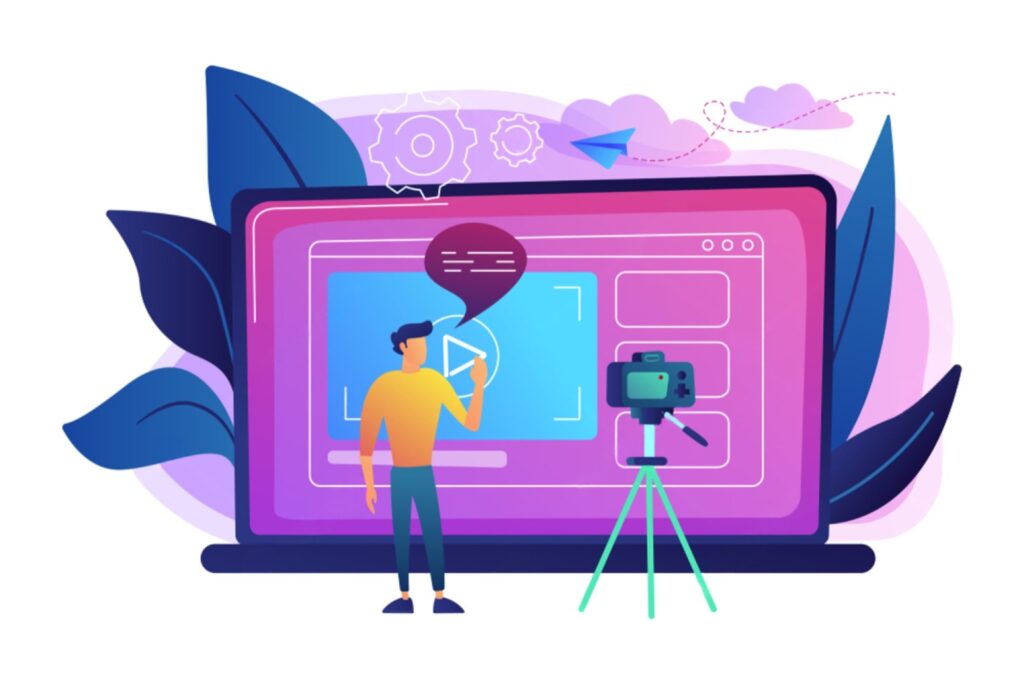
Have you ever wished you could explain your product, service, or idea in just a minute or two—clearly, visually, and memorably? Explainer videos do exactly that. But if the thought of cameras, editing software, or animation tools feels daunting, you’re not alone.
The good news? You don’t need to be a videographer, editor, or animator to create something impressive. With the right approach and today’s accessible tools, anyone—yes, even without prior experience—can produce a high-quality explainer video that works.
At i-Q&A, we believe in clear communication that cuts through the noise. This blog post will show you exactly how to make an explainer video in seven easy steps, with insights from industry professionals, community creators, and today’s most intuitive platforms.
What Is an Explainer Video?
An explainer video is a short clip (usually 30 seconds to 2 minutes long) that simplifies a topic. It’s commonly used to:
- Introduce a product or service
- Walk users through a process
- Educate an audience
- Improve understanding
It can take many forms:
- Animated – Ideal for digital products or abstract concepts
- Live-action – Great for services involving real people
- Whiteboard – Budget-friendly and straight to the point
- Screencast – Best for showing how software works
You’ll often find explainer videos on websites, landing pages, social media, or even embedded in emails.
Why Do Explainer Videos Work So Well?
They’re not just trendy—they’re effective. Here’s why:
- They make complex topics simple.
- They use both visual and audio cues, supporting different learning styles.
- They’re engaging and shareable, especially on social platforms.
Dropbox, for example, famously used an explainer video that helped them gain over 70,000 users overnight. Others—like Mint and Dollar Shave Club—built entire campaigns around them. Whether for education, sales, or support, explainer videos deliver clear and memorable communication.
How to Make an Explainer Video in 7 Easy Steps
Let’s break it down:
1. Start With Research
Before creating anything, you need clarity. Ask yourself:
- Who is the video for?
- What problem are you solving?
- What do you want viewers to do next?
Review what your audience already knows—and what they might find confusing. If you’re unsure, browse Reddit forums like r/instructionaldesign, where professionals regularly share tips on simplifying content.
💡 Pro Tip: Don’t try to explain everything. Stick to one clear idea per video.
2. Choose the Right Video Type
Your topic should guide the video format:
- Animated – Ideal for tech startups or digital services
- Live-action – Great for customer testimonials or service demos
- Whiteboard – Simple, educational tone
- Screencast – Perfect for tutorials and walkthroughs
Consider where the video will live—YouTube, LinkedIn, a sales deck—and match the format accordingly.
3. Write a Script That Speaks
Your script is the heart of the video. Keep it tight and natural. Speak it out loud first—if it sounds robotic, rewrite it.
Structure:
- Opening Hook: Pose a question or state the problem
- Solution: Introduce your product or idea
- How It Works: Use visuals to walk them through
- Call to Action: Tell them what to do next
Keep the tone aligned with your brand—friendly, confident, and clear.
4. Gather Your Visual and Audio Assets
Depending on the tool you use, you’ll need:
- Logos, colours, and fonts for branding
- Background music (royalty-free or licensed)
- Voiceover (either AI-generated or recorded by you)
- Visual elements: stock footage, icons, screenshots, or animations
Platforms like Canva, Adobe Express, Powtoon, and Animaker come with built-in assets to speed up this stage.
5. Create or Film the Video
Here’s where you put it all together. Let’s look at how each platform helps:
Canva
- Drag-and-drop simplicity
- Magic Video and Magic Animate features
- Perfect for first-time creators
- Syncs visuals with music using Beat Sync
- Over 1 million templates and assets
Adobe Express
- Ideal for social-ready formats (YouTube, TikTok, etc.)
- Cloud-based collaboration
- One-click animations
- Great for slightly more polished pacing and speed control
Powtoon
- Customisable animated characters
- Suitable for educational or corporate-style explainers
- Instant share to social or YouTube
- Free plan available
Animaker
- Deep customisation: character emotions, lip-sync, outfit changes
- AI voiceovers
- 100M+ stock assets
- Particularly good for storytelling or narrative content
Choose a platform that suits your topic, timeline, and comfort level. You don’t need to use them all—just the one that makes sense for your goal.
6. Edit With Intention
Editing is where your message really takes shape. Keep these principles in mind:
- Don’t overcomplicate it: Clean transitions and simple cuts work best
- Use captions: Many viewers watch without sound
- Add scene breaks: Structure your message in visual chapters
- Stick to brand visuals: Consistency builds trust
AI-powered tools can automate much of this, including syncing voice to visuals and generating subtitles.
7. Publish and Promote
You’ve made your explainer video—now get it in front of people:
- Share on social media (tailor format to the platform)
- Add it to your website or landing page
- Include it in email campaigns
- Use it in webinars, presentations, or training sessions
Track the results using:
- Google Analytics or Wistia for engagement data
- YouTube Studio for watch time and retention
- A/B testing for thumbnails and calls to action
Watch for:
- Click-through rate
- Drop-off points
- Conversion rates
Use these insights to refine your next video or edit the current one.
Common Types of Explainer Videos You Can Create
Still not sure what kind of video to make? Try:
- Product demos
- How-to tutorials
- Service overviews
- Training modules
- Sales presentations
- Event announcements
- Onboarding explainers
Templates for all of these are available on Canva, Powtoon, and Animaker.
Costs and Tools: What Can You Access for Free?
Platform | Free Plan | Premium Available | Watermark-Free Export |
Canva | Yes | Yes | Yes |
Adobe Express | Yes | Yes | Yes |
Powtoon | Yes | Yes | Yes |
Animaker | Yes | Yes | Yes |
For those wanting to go further:
- Synthesia – Create AI-generated avatars
- Fiverr / Voices.com – Hire voiceover professionals
- Camtasia / DaVinci Resolve – More advanced editing
- Wyzowl / Studio Pigeon – Full-service agencies (starts from ~£3,000)
But you really don’t need these to get started.
Real Tips from Real Creators
Instructional designers and content creators on Reddit shared practical advice:
- Start with a storyboard to save hours in editing
- Focus on the message, not just visuals
- Still images plus narration can be more effective than flashy animations
- Use Canva for speed, Powtoon for creative control
Final Thoughts: You’re Closer Than You Think
Creating an explainer video used to require animation skills or a full production team. Not anymore. Today’s platforms do the heavy lifting—so you can focus on your message.
Whether you’re explaining a new feature, training a team, or welcoming customers, the process is manageable and rewarding. Just take it one step at a time:
- Define your idea
- Write clearly
- Use a tool that fits
- Keep it simple
- Share it with confidence
At i-Q&A, we help you communicate with clarity, care, and confidence. Explainer videos are just one way to do that—and now, you know how to get started.
Your message matters. Start creating it today.
